

Ross Downing GMC of Gonzales

Blog / Gonzales GMC Service

How Transparent Service Updates Improve Your Experience

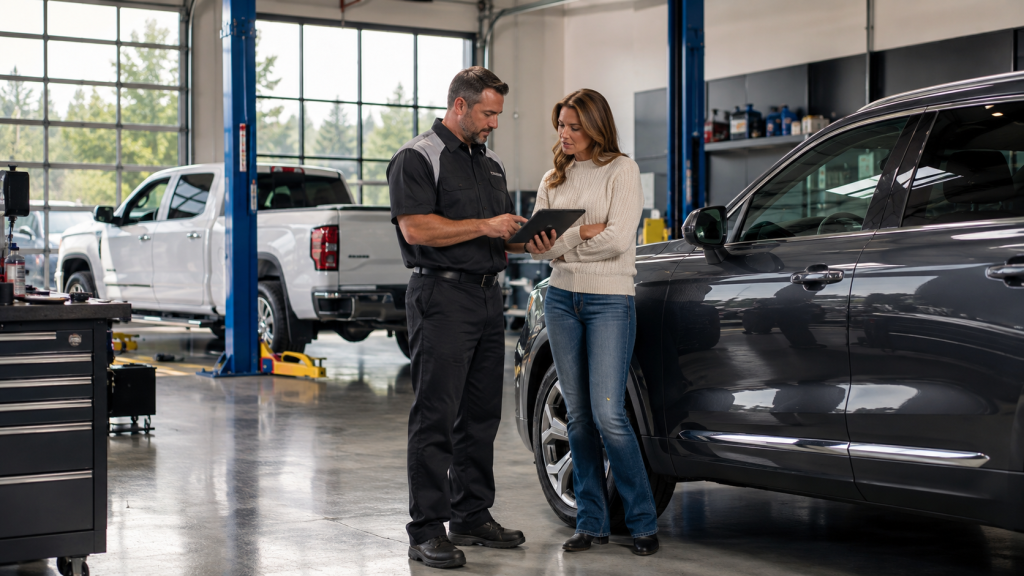
A mechanic and customer review a tablet next to a dark SUV in a garage.

Dealership service communication shapes how customers understand repair timelines, estimate approvals, technician findings, and vehicle status throughout the repair process. Many service frustrations begin when drivers only see the final invoice instead of the workflow happening behind the scenes. At Ross Downing GMC Gonzales, the repair process involves multiple stages that connect technicians, diagnostic equipment, parts departments, and service advisors together. Understanding how those stages work gives GMC owners clearer expectations when repairs, inspections, or maintenance visits move beyond a simple oil change.

What Happens After Vehicle Check In?

Once a GMC vehicle enters the service lane, the process immediately moves into documentation and inspection. The advisor records customer concerns, verifies symptoms, checks mileage, reviews warranty information, and attaches technician notes before the vehicle enters the shop queue. This step matters because vague descriptions can slow diagnosis later. A statement like “the truck feels strange” creates far less direction than identifying vibration speed ranges, warning messages, startup timing, or braking symptoms.

After check in, the technician begins an inspection sequence tied to the original concern. A Sierra with trailer brake warnings may require electrical testing, connector inspections, battery voltage evaluation, and scan tool diagnostics before any repair recommendation appears. A Yukon arriving with suspension concerns may move through ride height measurements, compressor evaluation, road testing, and suspension module scans.

Most dealership workflows include:

• Multi point inspections that document tire wear, brake condition, fluid levels, and visible wear items
• Diagnostic scans that pull stored fault codes from onboard control modules
• Technician notes that identify confirmed failures or additional testing requirements

This inspection stage creates the foundation for estimate accuracy. Without a complete evaluation, advisors risk quoting repairs before technicians confirm the actual source of the issue.

How Diagnostic Testing Builds a Repair Estimate

Many customers see an estimate as a simple parts and labor sheet. Inside the dealership, the estimate begins with technician diagnosis. Diagnostic work identifies the source of a concern before replacement recommendations move forward.

Modern GMC vehicles contain dozens of modules monitoring powertrain operation, steering, braking, suspension calibration, emissions output, driver assistance hardware, and infotainment operation. A warning light does not automatically identify a failed component. Technicians use factory scan tools, live data readings, pressure tests, voltage testing, software diagnostics, and physical inspections to isolate faults.

A GMC Acadia with intermittent overheating could involve:

• Cooling fan operation
• Thermostat function
• Water pump circulation
• Air pockets inside the cooling system
• Sensor communication issues
• Radiator flow restrictions

Each inspection stage narrows the possible causes before repair authorization occurs. That process explains why some estimates change after diagnostics begin. The original symptom may lead technicians toward additional findings that were not visible during initial check in.

Repair estimates also include labor calculations tied to factory repair procedures. Some repairs involve simple component replacement. Others require calibration procedures, programming sequences, road testing, or disassembly that adds labor hours. Driver assistance features in newer GMC models create additional calibration requirements after repairs involving cameras, steering components, suspension work, or collision related repairs.

Why Repair Timelines Sometimes Change

One of the largest frustrations during vehicle service involves changing completion estimates. Customers may hear one timeline during check in and another after diagnosis. In many situations, the timeline changes because the diagnostic process uncovered additional repair requirements or because parts sourcing changed after inspection.

A repair can move through several stages before completion:

  1. Initial symptom verification
  2. Diagnostic inspection
  3. Estimate creation
  4. Customer authorization
  5. Parts acquisition
  6. Repair installation
  7. Calibration or programming
  8. Final quality inspection
  9. Vehicle delivery preparation

Any interruption inside those stages can extend completion timing. Parts availability creates one of the largest variables. Some components remain stocked locally while others ship from regional distribution centers or national warehouses. Newer technology features inside GMC trucks and SUVs may involve electronic modules, camera assemblies, air suspension hardware, or specialty sensors that are not stocked in every market.

Heavy repair volume also impacts workflow timing. Diagnostic technicians may already be assigned complex drivability concerns, transmission inspections, electrical repairs, or diesel truck evaluations when additional vehicles arrive. Repair queues shift throughout the day as emergency repairs, tow ins, warranty approvals, and technician availability change.

Communication matters most during these moments because silence creates uncertainty. Clear updates explaining diagnostic progress, parts shipping status, or repair sequencing reduce confusion surrounding delays.

How Service Communication Flows During Repairs

The advisor acts as the bridge between the customer and the technician. Technicians spend much of the day inside repair bays performing inspections and repairs, while advisors manage scheduling, estimate approvals, repair updates, warranty communication, and delivery coordination.

Strong dealership service communication involves timing as much as information. Customers want updates when major repair stages change, not only when the vehicle is finished. A meaningful update may include completed diagnostics, parts ordering status, additional findings, revised completion timing, or technician recommendations.

Digital communication tools now allow dealerships to send:

• Text updates for estimate approvals
• Video inspections showing repair findings
• Status notifications during repair progression
• Links for service authorization

These tools create clearer visibility into repairs that customers cannot physically observe inside the shop. A brake inspection video showing rotor scoring or fluid leakage communicates repair urgency far more clearly than a vague phone description.

Communication quality also shapes trust during larger repairs. Transmission work, diesel diagnostics, electrical repairs, and suspension failures may require extended inspection periods before technicians finalize repair direction. Regular updates reassure customers that the vehicle is still progressing through active diagnostic stages.

What Customers Should Evaluate During Service Visits

Repair communication is not only about friendliness. It also reflects workflow organization, technical clarity, and operational transparency. Customers evaluating a dealership service department should pay attention to how clearly information is explained throughout the visit.

Strong communication usually includes:

• Clear explanations of diagnostic charges before repairs begin
• Realistic timeline discussions instead of rushed promises
• Approval requests before additional repairs are performed
• Documentation showing technician findings and recommendations
• Follow up communication when timelines shift

Drivers should also evaluate whether explanations make sense technically. A strong advisor can explain why a repair is needed, what failed, how the technician confirmed the issue, and whether additional inspections may become necessary.

At Ross Downing GMC Gonzales Service Center, service communication plays a major role in reducing uncertainty during maintenance and repair visits. Whether the vehicle requires diagnostics, factory scheduled maintenance, electrical testing, or complex truck repairs, transparency throughout the process creates clearer expectations and a smoother ownership relationship.
Posted in:

Related Posts

GMC Maintenance Schedule for Hurricane Season Prep

GMC Maintenance Schedule for Hurricane Season Prep

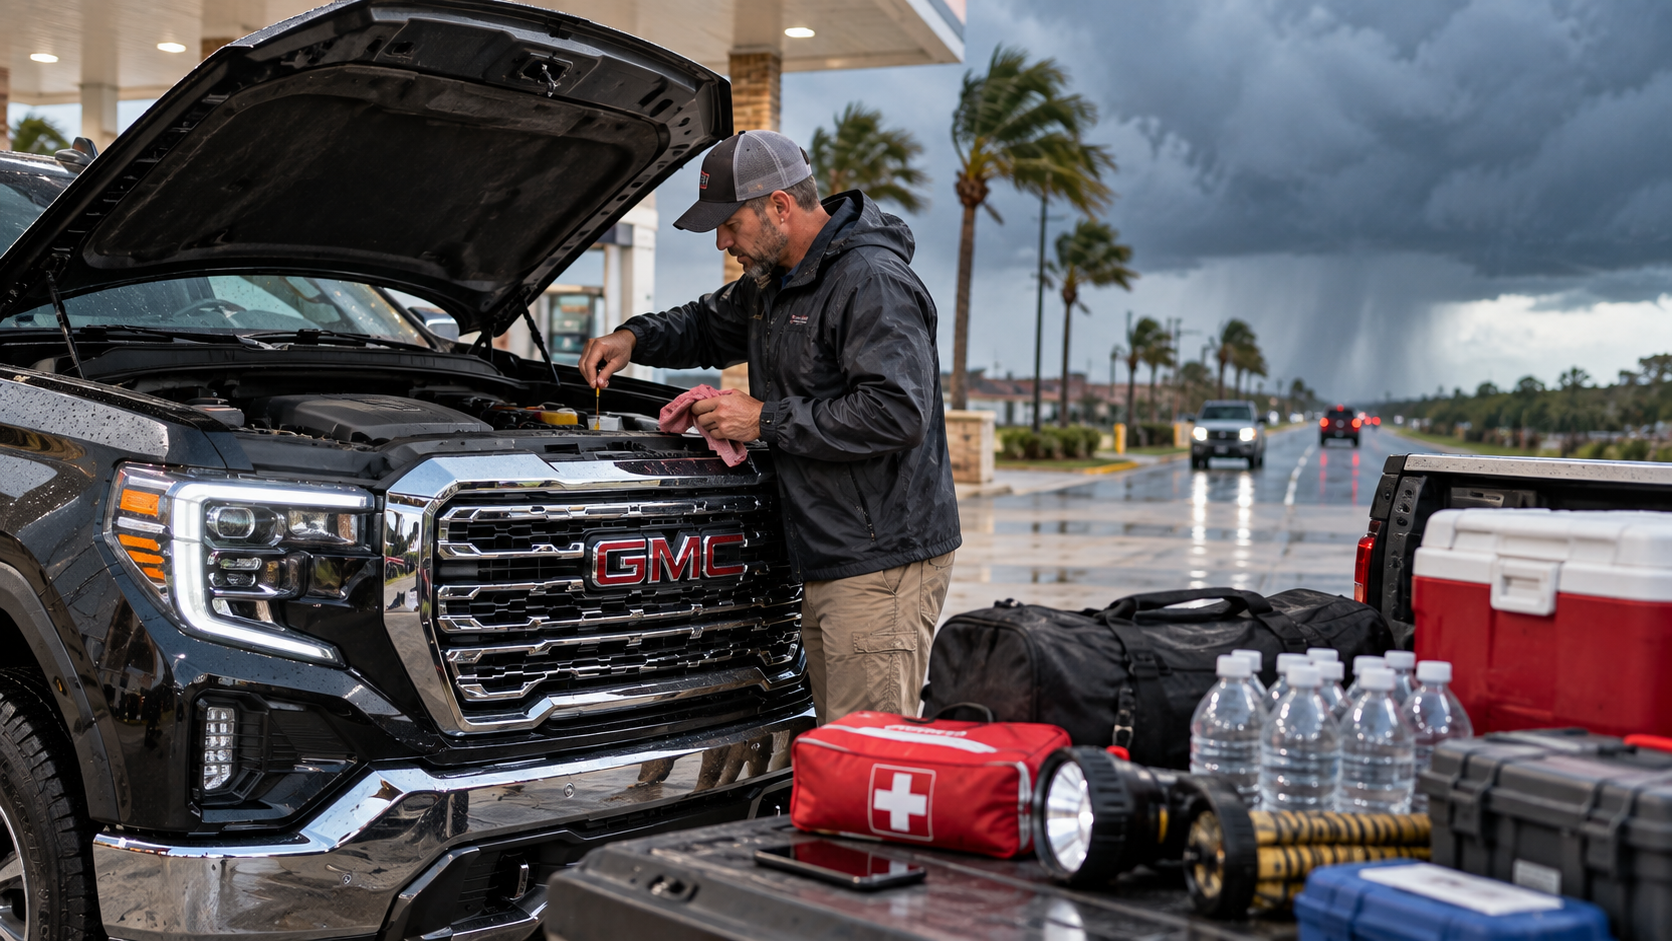
A GMC maintenance schedule can give Louisiana drivers a useful starting point before hurricane travel or evacuation becomes necessary. Storm preparation should begin before rain, traffic, and urgent departure plans arrive. Therefore, checking key service items early can reduce surprises when your truck or SUV needs to leave quickly. Battery health, tire tread, brakes, wipers, fluids, and fuel all deserve attention before severe weather moves closer. Check the Battery Before Storm Travel Your battery deserves an early check because evacuation plans can depend on one clean start. However, a truck may start normally today while still carrying a weak battery. Therefore, a proper test offers more information than a quick visual check alone. Inspect the battery case, terminals, and nearby cables before storm season. Look for corrosion, loose connections, cracks, or signs of leakage. Additionally, ask for a battery test if the battery is older or has shown slow cranking. Heat can also shorten battery life, which matters during Louisiana summers. Before a storm, review these battery and electrical items: Check the battery terminals for corrosion and secure connections. Ask for battery testing if starting has become slower or less consistent. Confirm that charging cables, phone chargers, and portable power banks are ready. A battery check supports more than starting the engine. It also supports lights, charging, and other electrical needs during a long trip. Therefore, completing the check before evacuation traffic begins gives you more time to correct a problem. Inspect Tires, Brakes, and Wipers for Heavy Rain Wet roads place extra attention on traction, stopping, and visibility. Tire pressure alone does not tell the whole story. Additionally, tread depth, uneven wear, sidewall damage, and age should be reviewed before storm travel. Start by checking all four tires when they are cold. Compare the pressure with the specification listed for your GMC. Additionally, inspect tread across the full width of each tire. Uneven wear may point to another service need that deserves attention before a long drive. Brakes deserve the same review. Listen for grinding, squealing, or other unusual sounds during normal stops. However, sound alone does not confirm brake health. A service inspection can check pads, rotors, fluid, and related parts. Wiper blades are just as important during intense rain. Replace blades that streak, skip, chatter, or leave large areas uncleared. In addition, fill the washer reservoir and test the spray pattern before you leave. These checks matter because heavy rain can reduce how much time you have to react. Therefore, good tread, clear glass, and responsive brakes support safer travel. Prepare for a Longer Evacuation Drive A GMC maintenance schedule should also guide the service items that may already be due. An evacuation can add hours of driving in heat and traffic. Therefore, overdue maintenance deserves attention before a storm is close. Check the oil life reading and compare current mileage with the service schedule. Additionally, review coolant, brake fluid, and other listed fluids for your model. Your Owner's Manual gives the correct schedule and specifications for your GMC. Fuel planning also matters. Do not wait until evacuation traffic begins to think about filling the tank. Instead, keep enough fuel available to leave without an immediate stop. Gas stations may become crowded, and some may lose power during severe weather. Before leaving, review these final travel items: Confirm oil life, fluid levels, fuel, tire pressure, and washer fluid. Pack charging cables, water, food, medication, flashlights, and a first aid kit. Save your primary route and an alternate route before cellular service becomes limited. In addition, keep registration, insurance information, and emergency contacts easy to reach. A little preparation can shorten the list of decisions you must make later. Build a GMC Hurricane Kit for the Road A hurricane kit inside your truck or SUV should focus on time spent away from home. The goal is to cover basic needs during traffic, delays, or a longer evacuation route. Water and nonperishable food should be easy to reach. Additionally, keep needed medication in a secure place that stays with you. Flashlights, charging cords, portable battery packs, and a basic first aid kit can support travel when power is limited. In addition, children, older relatives, and pets can each add specific needs. Therefore, pack those supplies before a watch or warning creates a rush. Keep the kit organized so important items are easy to find. Avoid burying medication or charging gear under luggage. Moreover, secure heavier objects so they do not move through the cabin during a sudden stop. Never Treat Floodwater as a Truck Test Can a GMC truck or SUV drive through floodwater? No truck or SUV should be used to test whether a flooded road is safe. Moving water can push a large pickup away, and standing water can hide severe road damage. A taller ride height does not make an unknown flooded road safe. Water can cover washed out pavement, debris, sharp objects, or missing road edges. Therefore, turning around is the safer choice when water covers the roadway. If flooding blocks your planned route, use official flood safety guidance and choose another path. Do not follow another driver into the water as proof that crossing is safe. In addition, never drive around barricades placed across flooded roads. Storm preparation works best before the forecast creates urgency. Review your GMC maintenance schedule, inspect key service items, and pack your supplies early. Then, keep fuel available and know where you will go if evacuation becomes necessary. Ross Downing GMC of Gonzales can also inspect your GMC before hurricane travel. Early preparation gives you more options when the weather changes quickly.

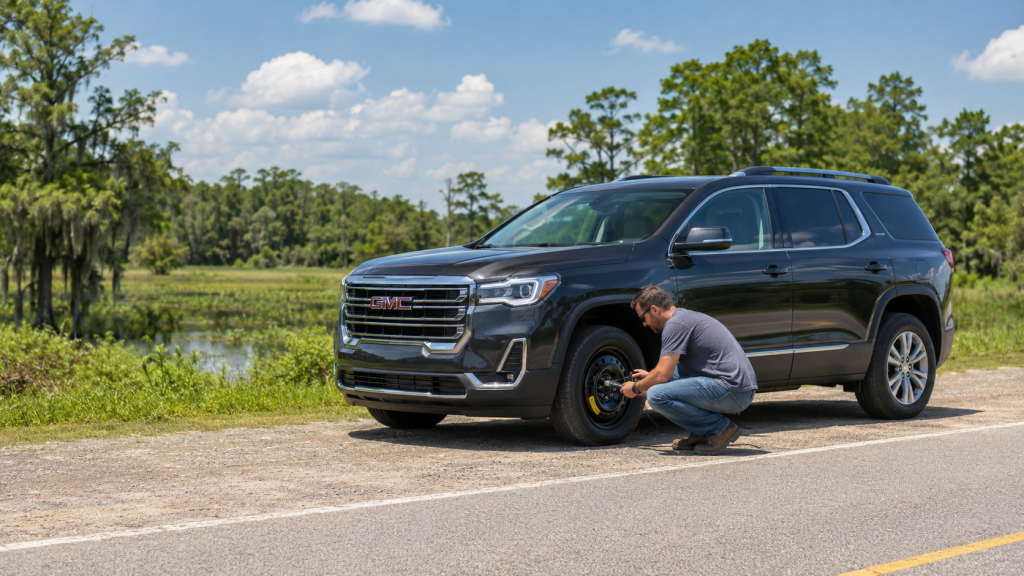
A man crouches to inspect the front tire of a black GMC SUV parked on a roadside.

How Long Can You Drive on a Spare Tire in Louisiana

How long can you drive on a spare tire after a flat in Louisiana? The exact limit comes from the spare sidewall and your vehicle owner’s manual. Many compact spares list a speed limit near 50 mph. However, the permitted distance can vary by tire and vehicle. A spare restores short term mobility after tire damage. It does not replace a permanent tire repair. Therefore, travel only far enough to reach a safe inspection location. How Spare Type Changes the Answer Spare tire type controls how the vehicle should be driven after a flat. Compact temporary spares and full size spares serve different roles. A compact spare has a smaller wheel and narrower tread than the normal road tires. It may also carry a much higher inflation requirement. Therefore, its sidewall must receive close review before travel. A full size spare may match the other four tires. However, its age, pressure, tread depth, and load rating still need inspection. A spare stored for years can lose air without visible damage. Check these details before moving: Read the maximum speed printed on the spare sidewall. Find the spare tire instructions inside the owner’s manual. Measure pressure with a tire gauge before entering traffic. Confirm that the tire has no cracks, bulges, cuts, or exposed material. Check whether cargo or trailer limits apply during spare tire travel. Some vehicles carry a full size wheel with a different tire or tread pattern. Therefore, matching wheel size alone does not prove unrestricted travel. Follow the manual until a tire professional reviews the setup. Why Compact Spares Have Strict Limits Why does a compact spare change how the vehicle moves? Its smaller dimensions alter grip, braking response, and wheel rotation. A narrower tread places less rubber against the road. Therefore, traction may feel different during braking or cornering. Wet pavement can make that difference easier to notice. The spare may also rotate at a different rate than the other tires. That difference can place added strain on driveline parts. For this reason, the manual may limit speed, distance, or axle placement. High speed creates more tire flex and heat. Additionally, hard braking transfers force quickly through the smaller tire. Sharp turns can also place greater load across its narrow contact area. Drive smoothly and leave more stopping room. Avoid sudden steering, rapid acceleration, and rough pavement when possible. Still, do not remain on an unsafe shoulder longer than necessary. A compact spare should support a direct trip to tire service. It should not support errands, commuting, or delayed repair plans. How Louisiana Heat Changes Tire Stress Louisiana summer heat raises pavement and tire temperatures during travel. However, heat does not create one universal distance reduction for every spare. Correct inflation becomes more important during hot travel. An underinflated tire flexes more with each rotation. Consequently, added flex creates internal heat and places more stress on the tire. Check spare pressure before a trip whenever possible. The best reading comes while the tire is cold. That means the vehicle has remained parked for several hours. Do not release air from a warm tire simply because the reading looks high. Heat can raise pressure after driving. Releasing warm air may leave the tire too low after cooling. A compact spare may require far more pressure than the normal road tires. Therefore, never copy the regular tire pressure without checking the spare label. Sunlight and trunk heat can also age stored rubber. Cracks, hard rubber, or sidewall damage require professional review. Visible tread alone does not prove that an old spare remains ready. Highway Travel Loads and Towing Need Extra Care Can you drive on the interstate with a compact spare? The answer rests on the spare speed limit and the safest route to service. Traffic may move faster than the spare permits. Therefore, a nearby surface route may offer a safer path. Choose a route that keeps speed within the printed limit. Heavy cargo adds more weight across the tires. Passengers, tools, luggage, and recreational gear can raise tire strain. Consequently, a loaded GMC truck or SUV may need a different roadside plan. Trailer travel requires even greater caution. A trailer adds tongue weight and changes steering, braking, and stability. The owner’s manual may restrict towing while a temporary spare is installed. Do not assume the restored tire shape means full towing support has returned. Instead, stop in a safe location and review the manual. Roadside assistance may provide the safer route when towing limits remain unclear. Tire pressure monitoring may not read the spare. Therefore, the absence of a warning light does not prove correct pressure. A manual gauge remains necessary. Warning Signs That Mean Stop Driving A spare may develop trouble before reaching its printed distance. Therefore, pay attention to new movement, sound, and steering changes. Stop in a safe location when you notice: Strong vibration through the steering wheel, seat, or floor. Pulling that makes the vehicle difficult to keep straight. Repeated thumping, scraping, rubbing, or flapping sounds. Rapid pressure loss or a tire pressure warning. A visible bulge, crack, cut, or damaged sidewall. Smoke, burning odor, or unusual heat near the wheel. Do not continue solely because the service location is close. A damaged spare can fail without much warning. Therefore, move away from traffic and request roadside help. Also stop when the tire contacts bodywork or brake parts. Incorrect installation or wheel fit can create immediate damage. Loose wheel fasteners can also cause vibration and wheel movement. After installation, recheck that the wheel sits flat against the mounting surface. Follow the tightening steps listed for the vehicle. A service professional should verify the installation soon afterward. When Permanent Tire Service Should Happen Permanent tire service should happen at the nearest reasonable opportunity. A compact spare exists for emergency travel only. A tire professional must inspect the damaged road tire before approving repair. Puncture location, puncture size, internal damage, tread depth, and prior repairs all enter that decision. Sidewall damage usually requires replacement because that area flexes during travel. Driving without enough air can also damage the inside of the tire. Therefore, a small visible puncture may hide larger internal harm. Bring these details to the service visit: Where the pressure loss first appeared. How far the vehicle traveled after the warning. Whether the tire became fully flat. Whether sealant entered the damaged tire. Whether the spare produced noise, vibration, or steering changes. Ross Downing GMC Gonzales can inspect the damaged tire, check the spare, and review replacement options. The service team can also confirm inflation requirements for the exact GMC. A spare tire should shorten the roadside emergency, not extend it. Follow the printed limits, reduce speed, and avoid added load. Then arrange permanent tire service before normal travel resumes.

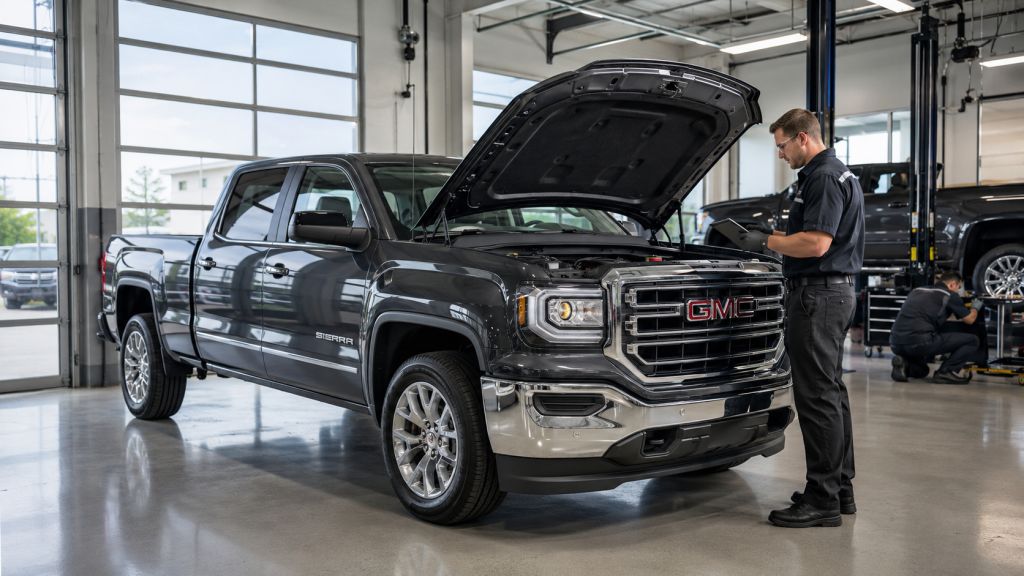
A technician stands beside a black GMC Sierra pickup truck with its hood open in a garage.

Vehicle Inspection Report Dealership Guide in Gonzales

A vehicle inspection report dealership guide should explain what was checked, measured, found, and recommended before purchase. A useful report records present wear, visible defects, diagnostic findings, and repair needs. It should also identify the exact vehicle through its identification number. No inspection can promise a repair free future. However, a detailed report gives Gonzales shoppers stronger information before signing. It also creates a written record for pricing, service, and warranty discussions. What a Vehicle Inspection Report Should Explain What should a vehicle inspection report show before you purchase a used vehicle? A useful report records measured wear, visible defects, diagnostic findings, and recommended repairs. The report should name the technician or shop that completed the work. It should also show the inspection date and current mileage. In addition, the vehicle identification number should match the unit under review. A useful report should include: Tire tread depth and tire age should appear for all four positions. Brake pad measurements and rotor findings should appear in writing. Fluid levels, leaks, battery test results, and warning lights should be recorded. Diagnostic codes and road test findings should include clear notes. Repair needs should be grouped by urgency and estimated timing. A simple checkmark gives little context. By contrast, measurements show how much material remains and which items may need service soon. Why History Records Do Not Replace Inspection A vehicle history report reviews recorded events from the past. It may show title records, reported collisions, mileage entries, prior owners, and some service work. However, not every repair enters a reporting database. Private work, small body repairs, and unreported damage may never appear. Therefore, a clean history report cannot prove clean current condition. A physical inspection answers a different question. It reviews what the vehicle shows today. Paint differences, panel gaps, leaks, tire wear, and warning codes can reveal concerns outside the history file. Service records add another layer. They may confirm oil changes, brake work, fluid service, or major repairs. Still, missing records do not prove that care never occurred. For this reason, shoppers should review the history file, service records, and physical report together. Each source fills a different information gap. What Tires Brakes and Suspension Can Reveal Tires can reveal more than remaining tread. The report should record tread depth, tire age, sidewall damage, matching type, and wear shape. Uneven wear can point toward low pressure, missed rotations, worn steering parts, suspension wear, or wheel geometry concerns. Therefore, the report should explain the pattern and any next step. Brake review should include pad thickness, rotor surface, brake fluid, pedal feel, and warning lights. A vehicle may stop normally while still nearing brake service. Steering and suspension parts also deserve close review. Worn joints, bushings, shocks, or struts can create noise, looseness, or poor tire wear. During the road test, the vehicle should track straight and brake smoothly. Vibration, pulling, clunks, or repeated noise should appear in the written findings. These measurements create a clearer repair picture. They also make price discussions more specific. What Fluids and Underhood Checks Should Cover Fluid review should include levels, visible condition, odor, and leak location. Engine oil, coolant, brake fluid, and accessible driveline fluids deserve attention. Dark fluid alone does not prove internal damage. Therefore, the technician should compare visual findings with service records, mileage, and manufacturer intervals. Leaks need clear notes. The report should identify the fluid type, source area, severity, and need for further testing. A damp area and an active drip require different responses. Battery testing should include measured condition and starting strength. Belts, hoses, filters, terminals, and cooling parts should also receive review. The underbody can reveal fluid loss, impact damage, corrosion, or loose shields. In addition, the exhaust should receive a visual check for damage or leaks. A written report should separate maintenance needs from diagnostic concerns. That distinction keeps routine service from sounding like confirmed mechanical failure. Why the Scan and Road Test Both Matter A diagnostic scan reads active, pending, and stored fault codes. It can add useful electronic information even when no warning light appears. Still, a scan cannot measure tire age, brake thickness, fluid leaks, or body repairs. It also cannot confirm how the vehicle feels while moving. The road test should include changing speeds, turns, bumps, and controlled braking. Those inputs test steering, shifting, braking, suspension movement, and noise. The driver should note delayed shifts, vibration, pulling, steering play, brake pulsation, or unusual sounds. Climate controls, cameras, windows, locks, and interior electronics should also receive testing. One short loop on a smooth road may miss concerns. Therefore, the route should include several surfaces and speeds when safe. Electronic data and road feedback should support each other. When either source raises concern, further diagnosis may be needed before purchase. Which Documents Should Be Reviewed Before Signing The inspection report is one part of the final review. Gonzales shoppers should also read the history file and federal window notice. Service records, recall information, and warranty terms deserve review too. Before signing, confirm these items: The federal window notice should state whether warranty coverage applies or the vehicle is sold as is. Written warranty terms should identify covered parts, limits, dates, and required steps. Any promised repair should appear in the purchase paperwork. Open recall information should match the exact vehicle identification number. The inspection report should list findings, measurements, and repair priorities. An inspection does not create warranty coverage. A warranty defines which repairs may receive coverage under its written terms. Spoken repair promises can become difficult to prove later. Therefore, every promised repair should appear in writing before delivery. Ross Downing GMC Gonzales can review inspection records, warranty details, and service history for available used vehicles. Shoppers should ask questions before signing and keep copies of every document. A thorough review cannot predict every future repair. However, it can show current wear, known concerns, and near term service needs. That information supports a more informed used vehicle decision.